Chimney Waterproofing in Florida: Complete Protection Guide
Florida's combination of heavy rainfall, high humidity, and hurricane-force winds makes chimney waterproofing essential for homeowners. Water is a chimney's biggest enemy, and Florida's climate accelerates deterioration faster than almost any other state. (csia.org)
Call Pro Air Chimney at 813-513-7861 for a professional chimney waterproofing assessment.
Table of Contents
- Why Florida Chimneys Need Waterproofing
- Types of Chimney Waterproofing Sealants
- The Waterproofing Application Process
- Chimney Waterproofing Cost in Florida
- How Often to Reapply Waterproofing
- Signs of Chimney Water Damage
- Hurricane Preparation for Your Chimney
- FAQ
- Related Services
- Service Areas
Why Florida Chimneys Need Waterproofing
Florida presents unique challenges for chimney masonry that homeowners in other states simply don't face:
Constant Humidity Exposure
Florida's average humidity hovers around 70-80% year-round. This continuous moisture exposure allows water vapor to penetrate brick and mortar even on days without rain. Over time, this leads to:
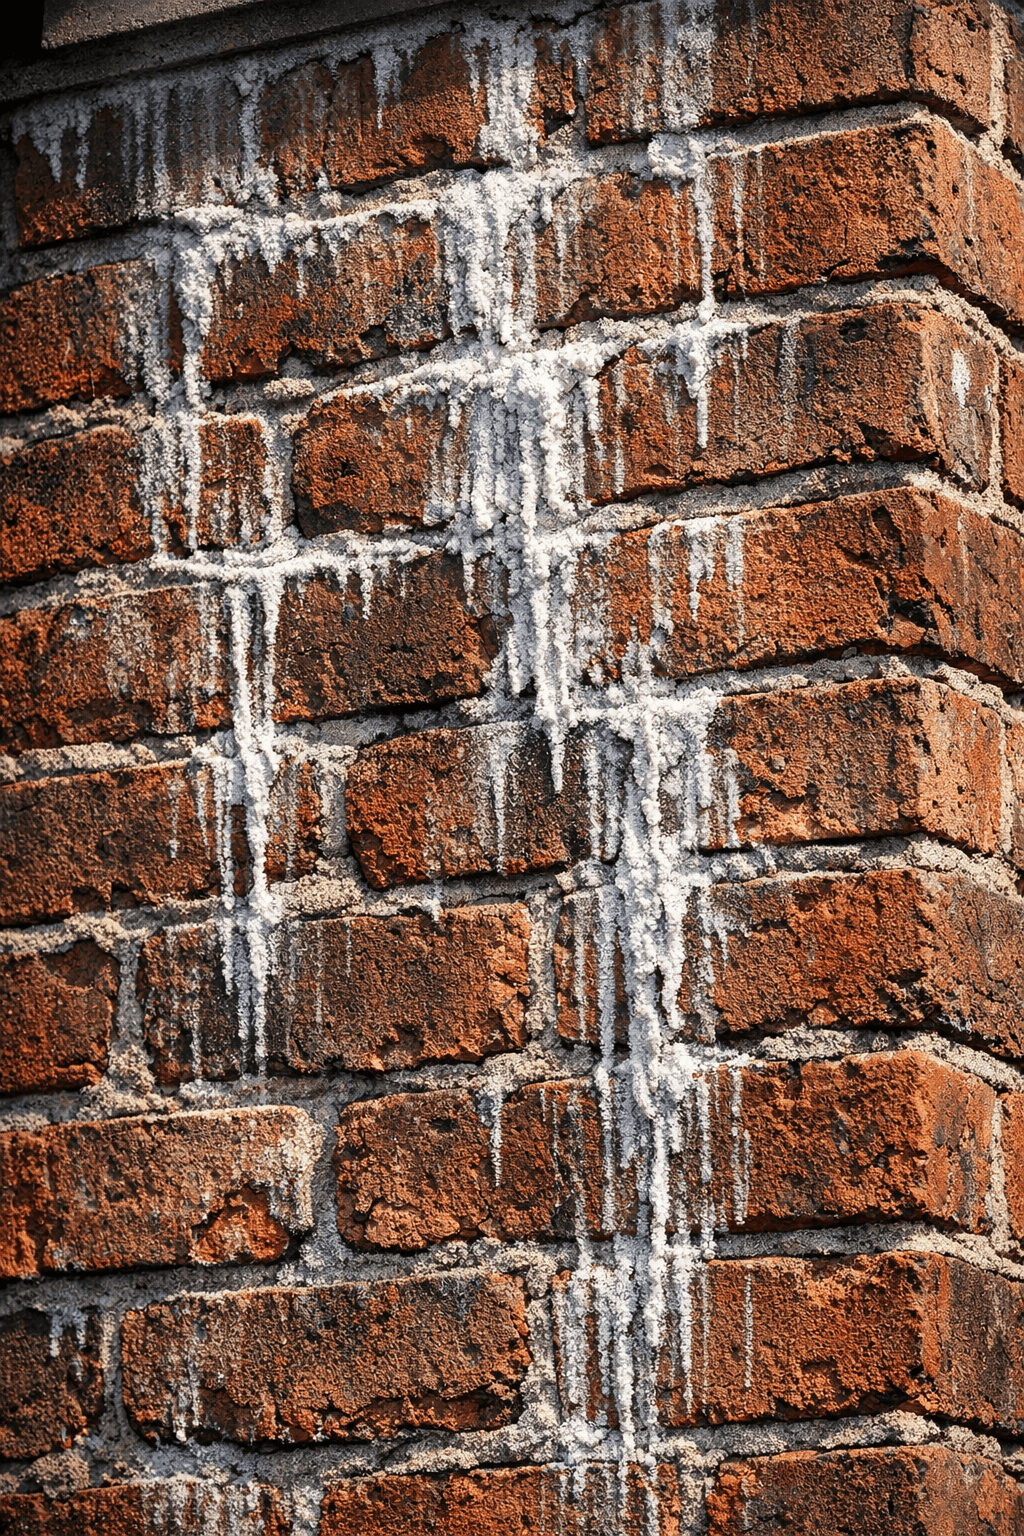
- Efflorescence (white salt deposits on brick surfaces)
- Spalling (brick faces flaking and crumbling)
- Mortar joint deterioration
- Rusted dampers and metal components
Heavy Rainfall Patterns
Florida receives 50-60 inches of rain annually, with summer thunderstorms delivering intense, wind-driven rain that can push water horizontally into chimney masonry. Unlike gentle vertical rain, wind-driven rain finds every crack, gap, and porous surface.
Hurricane Season Threats
From June 1 through November 30, Florida chimneys face potential exposure to tropical storms and hurricanes. FEMA specifically identifies chimney flashing as a common water entry point during high-wind rain events. (fema.gov)
Thermal Cycling
Florida's temperature swings between hot days and cool nights cause masonry to expand and contract. This thermal cycling creates micro-cracks that allow water infiltration, especially in older chimneys.
Types of Chimney Waterproofing Sealants
Not all waterproofing products are created equal. The CSIA warns against using "clear sealant or paint from a big box store" because these products can trap moisture inside masonry and accelerate deterioration. (csia.org)
1. Penetrating Water Repellents (Recommended)
The best chimney waterproofing uses silane/siloxane-based penetrating repellents. These products:
- Penetrate into masonry (up to 1/4 inch deep)
- Remain 100% vapor permeable (allows moisture to escape from inside)
- Don't form a surface film (won't peel, flake, or trap water)
- Provide invisible protection (no color change to masonry)
ChimneySaver and similar professional-grade products are examples of modified siloxane repellents designed specifically for chimney masonry. (chimneysaver.com)
2. Crown Coating Products
The chimney crown (the cement slab at the top) often develops cracks before the brick itself. Crown-specific coatings include:
- Elastomeric crown coatings that stretch with temperature changes
- Cementitious repair products for filling cracks before coating
- Flexible membrane systems for severely damaged crowns
Crown waterproofing is a separate service from brick waterproofing and should be addressed first if cracks are present.
3. Flashing Sealants
Many "chimney leaks" actually originate at the flashing (where the chimney meets the roof). Specialized elastomeric flashing sealants can bridge gaps and prevent water entry at this critical junction. (chimneysaver.com)
What to Avoid
- Paint (traps moisture, peels, causes spalling)
- Film-forming sealers (seal moisture inside masonry)
- Glossy coatings (change appearance, trap water)
- General-purpose waterproofers (not formulated for chimney heat/cold cycles)

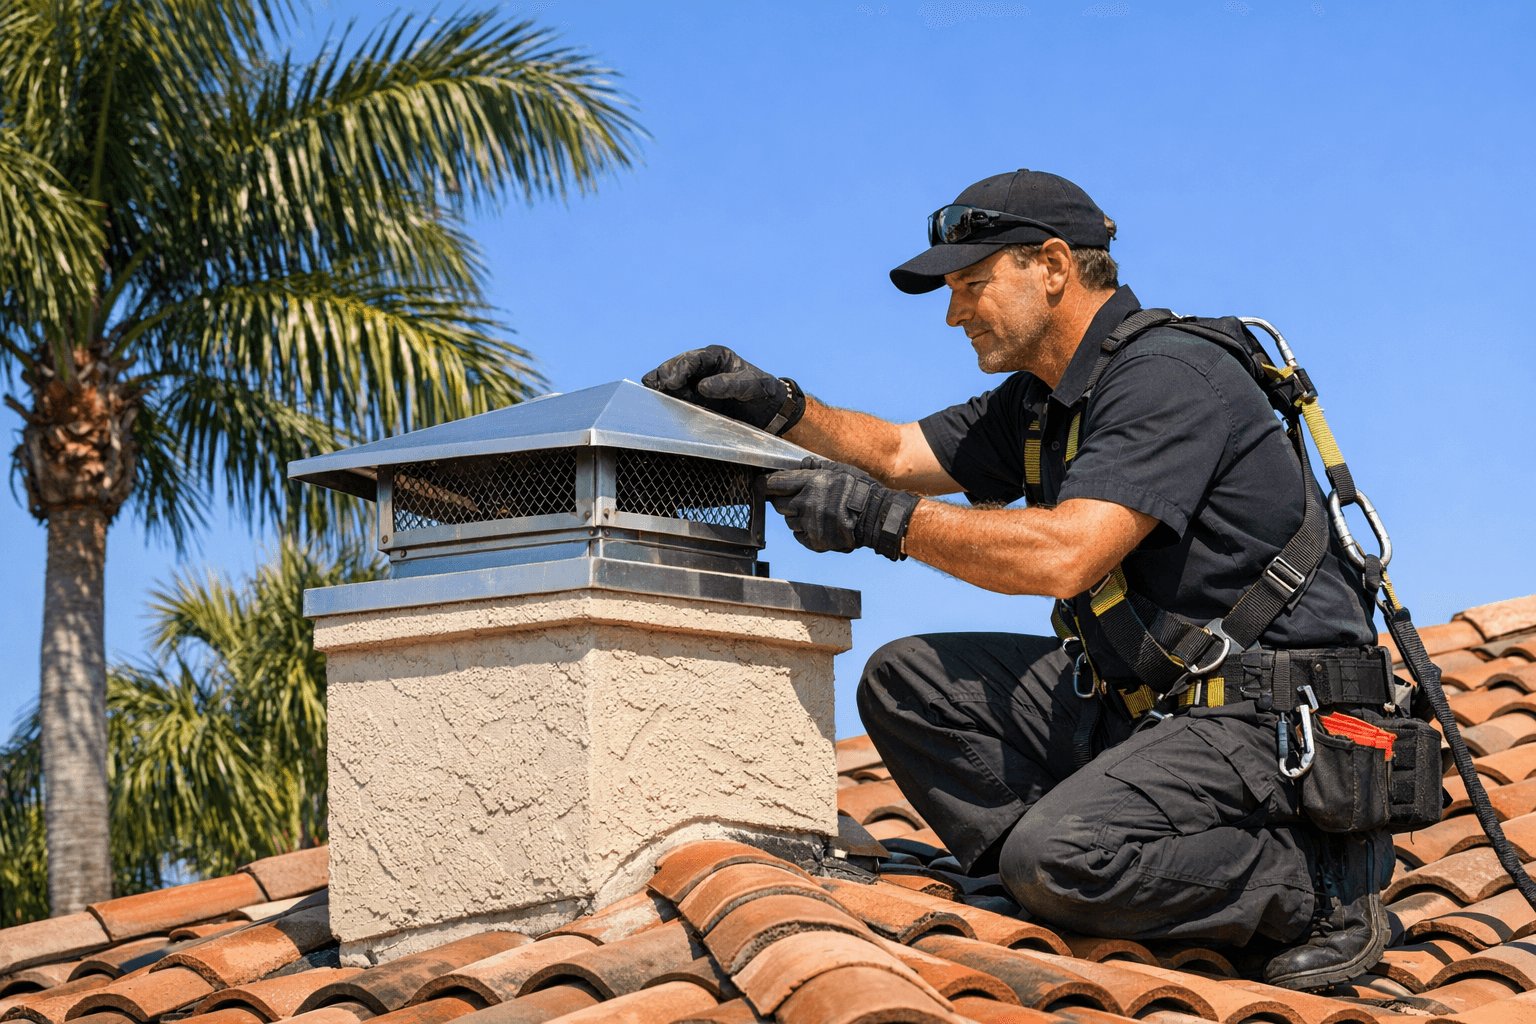
The Waterproofing Application Process
Professional chimney waterproofing follows a specific sequence to ensure lasting protection.
Step 1: Inspection and Repair
Before any waterproofing, a technician should:
- Inspect the cap, crown, and flashing for damage
- Check mortar joints for deterioration
- Identify any active leak sources
- Repair all defects first (waterproofing is not a substitute for repairs)
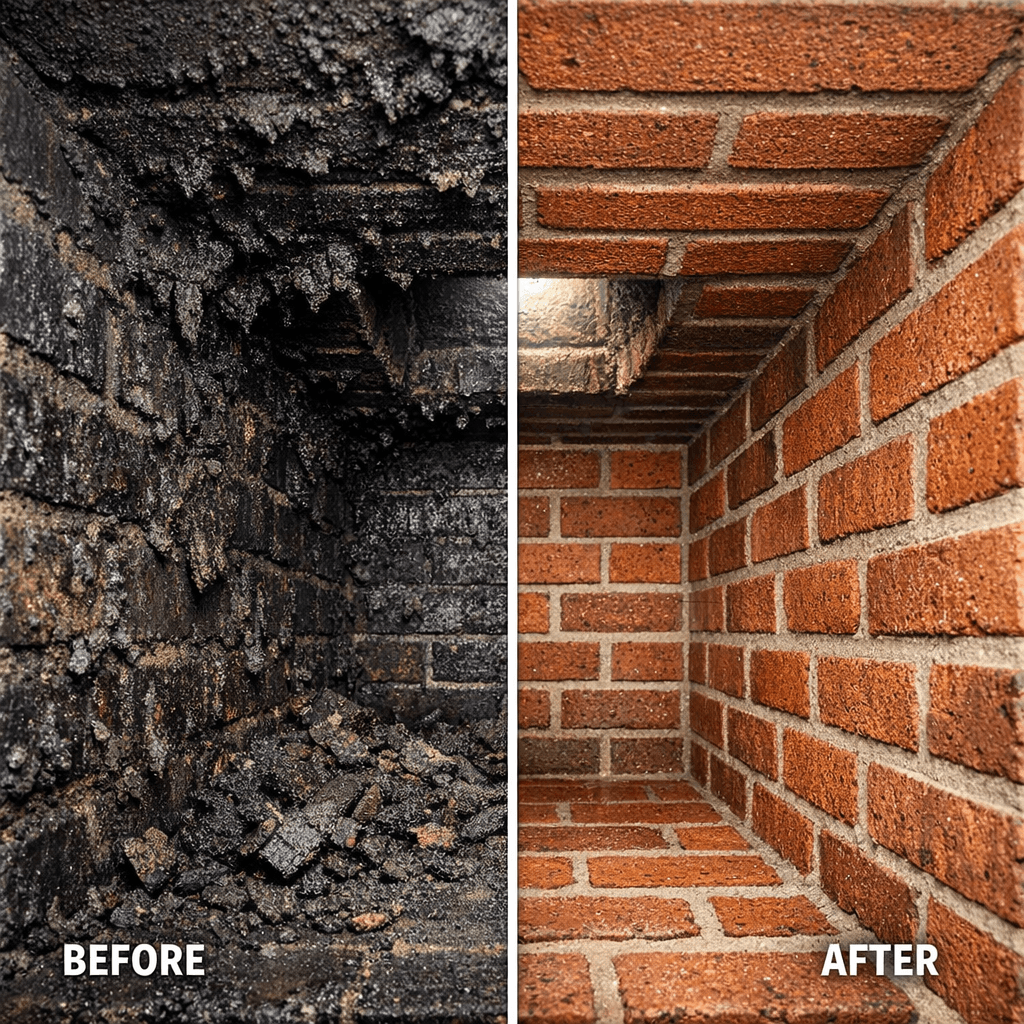
Step 2: Cleaning
The chimney exterior must be clean and dry. This includes:
- Removing dirt, debris, and biological growth
- Eliminating efflorescence deposits
- Allowing masonry to dry completely (24-48 hours after cleaning)
Step 3: Masking and Protection
Waterproofing products should not contact:
- Roof shingles
- Glass or windows
- Metal flashing (unless specified)
- Painted surfaces
Step 4: Application
Professional-grade repellents are typically applied:
- Using low-pressure sprayers or brushes
- In two coats (wet-on-wet or with short drying time between)
- From bottom to top to prevent runs
- With adequate coverage (saturating the surface)
Step 5: Cure Time
Most products require:
- 6+ hours before exposure to rain
- 24-48 hours for full cure
- Dry weather during application (check Florida's afternoon thunderstorm patterns)
ChimneySaver's solvent-based products specify at least 6 hours of dry weather after application. (chimneysaver.com)
Chimney Waterproofing Cost in Florida
Florida homeowners can expect to pay the following for professional chimney waterproofing:
Professional Waterproofing Costs
| Service | Typical Price Range | Notes |
|---|---|---|
| Standard waterproofing (labor + materials) | $160-$420 | Single chimney, accessible roof |
| Sealing service | $150-$400 | Often used interchangeably with waterproofing |
| Comprehensive sealing (2026 data) | $250-$650 | Varies by size, sealer type, and complexity |
Sources: HomeGuide and Angi cost guides (homeguide.com, angi.com)
DIY Material Costs
If you're considering DIY waterproofing:
- Professional-grade repellent: $50-$150 per gallon
- Sprayer and supplies: $20-$50
- Total DIY cost: $70-$300
However, DIY application on a steep Florida roof carries safety risks, and improper application may void product warranties.
What Increases Cost in Florida
- Steep tile roofs (common in Florida, harder to access)
- Coastal exposure (more deterioration, more prep work)
- Multi-story chimneys (require scaffolding or lifts)
- Crown/flashing repairs needed first
- Heavy efflorescence or spalling (requires extensive prep)
How Often to Reapply Waterproofing
Professional chimney waterproofing typically lasts 5-10 years depending on exposure and product quality. (csia.org)
Florida-Specific Considerations
Given Florida's harsh conditions, plan for:
- Annual visual inspection (check for returning efflorescence)
- Reapplication every 5-7 years (coastal areas)
- Reapplication every 7-10 years (inland areas)
- Immediate reapplication after any masonry repairs
Signs You Need to Reapply
- Water no longer "beads" on the masonry surface
- Efflorescence returns after cleaning
- New mortar repairs have been made
- Hurricane or severe storm damage occurred
- You notice interior moisture near the chimney
Signs of Chimney Water Damage
Catching water damage early prevents expensive repairs. Watch for these warning signs:
Interior Warning Signs
- Water in the firebox after rain
- Stains on walls or ceilings near the chimney (often in attic or second floor)
- Musty odor from the fireplace area (moisture mixing with soot/creosote)
- Rust on damper or firebox metal components
- Wallpaper peeling or paint bubbling near the chimney
Exterior Warning Signs
- White staining (efflorescence) on brick surfaces
- Spalling brick (faces flaking or crumbling)
- Deteriorated mortar joints
- Cracked chimney crown
- Gaps in flashing where chimney meets roof
- Tilting or leaning chimney (severe structural damage)
If you notice any of these signs, contact a chimney professional before applying waterproofing. Repairs must be completed first.
Hurricane Preparation for Your Chimney
Florida's hurricane season (June 1 - November 30) requires specific chimney preparation. (floir.gov)
Pre-Season Checklist
1. Inspect Roof Flashing
- Check where the chimney meets the roof for gaps or lifting
- Look for rust, corrosion, or missing sections
- FEMA identifies chimney flashing as a primary water entry point during storms (fema.gov)
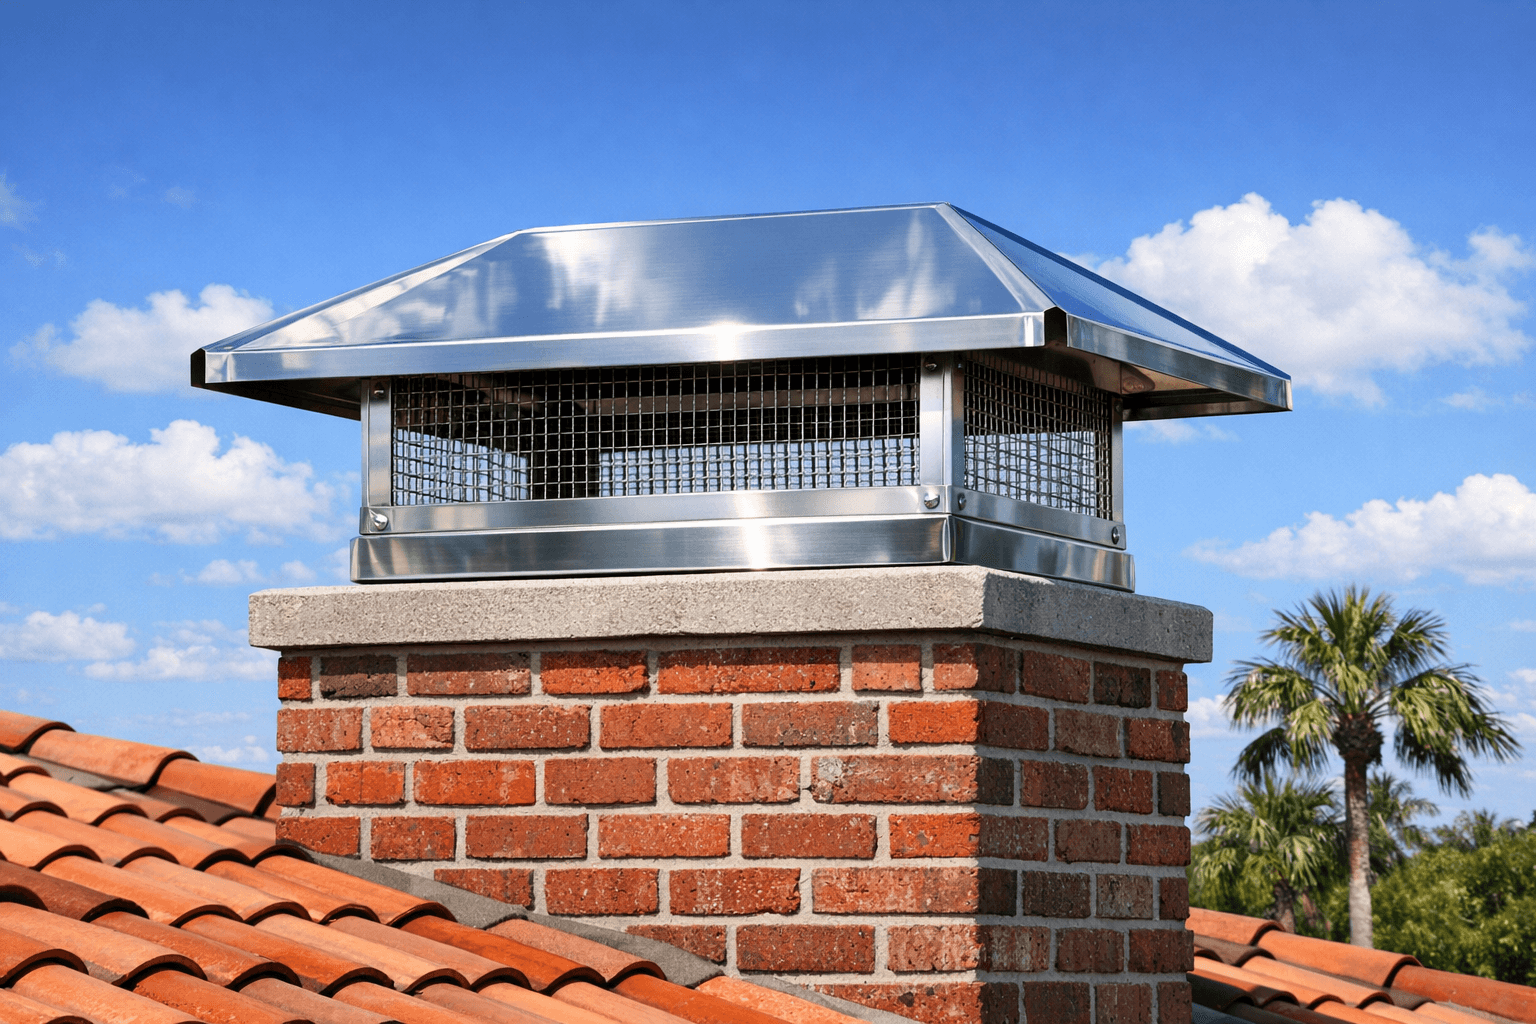
2. Verify Cap and Crown Condition
- Ensure the chimney cap is securely attached
- Check for cracks in the crown
- CSIA recommends regular crown/chase cover inspection (csia.org)
3. Address Small Problems Now
- Repair mortar cracks before storm season
- Replace rusted or damaged caps
- Fix loose flashing
- Small problems become major leaks under hurricane conditions
4. Document Current Condition
- Take photos for insurance purposes
- Note any existing damage
- Keep inspection reports on file
After a Storm
Following any tropical storm or hurricane:
- Check attic and ceilings for new water stains near the chimney
- Look for debris (fallen cap pieces, mortar, brick fragments)
- Inspect for shifting or leaning
- Schedule professional inspection if you suspect damage
CSIA standards indicate Level 2 inspections are required after events likely to cause damage, including major weather events. (csia.org)
FAQ
Q: How much does chimney waterproofing cost in Florida? A: Professional chimney waterproofing in Florida typically costs $160-$420 for standard service, with some comprehensive sealing services ranging up to $650 depending on chimney size and accessibility.
Q: What type of waterproofing sealant is best for Florida chimneys? A: Penetrating silane/siloxane water repellents are recommended. These products soak into masonry while remaining vapor permeable, allowing trapped moisture to escape. Avoid paint or film-forming sealers.
Q: How often should I waterproof my chimney in Florida? A: Professional waterproofing typically lasts 5-10 years. In Florida's harsh climate, coastal chimneys may need reapplication every 5-7 years, while inland chimneys can often go 7-10 years between applications.
Q: Can I waterproof my chimney myself? A: DIY is possible but presents challenges including roof safety, proper product selection, and correct application technique. Professional application ensures coverage and may include warranty protection.
Q: Will waterproofing fix an existing chimney leak? A: No. Waterproofing prevents future water absorption but won't fix active leaks from damaged crowns, failed flashing, or cracked mortar. All repairs must be completed before waterproofing.
Q: Should I waterproof before or after chimney repairs? A: Always complete repairs first. Waterproofing is applied after all crown repairs, repointing, flashing fixes, and cap installation are complete.
Q: Does waterproofing protect against hurricane damage? A: Waterproofing reduces water penetration into masonry but won't prevent structural damage from high winds. Pre-hurricane inspection and repairs are essential for storm protection.
Q: What's the difference between waterproofing and sealing a chimney? A: These terms are often used interchangeably. Both typically refer to applying a water-repellent treatment to exterior masonry to prevent water absorption.
Related Services
Service Areas
Final CTA
Protect your Florida chimney from water damage before it becomes a costly repair. Contact Pro Air Chimney for a professional waterproofing assessment.
Call 813-513-7861 for a same-day quote.
JSON-LD FAQ Schema
{
  "@context": "https://schema.org",
  "@type": "FAQPage",
  "mainEntity": [
    {
      "@type": "Question",
      "name": "How much does chimney waterproofing cost in Florida?",
      "acceptedAnswer": {
        "@type": "Answer",
        "text": "Professional chimney waterproofing in Florida typically costs $160-$420 for standard service, with some comprehensive sealing services ranging up to $650 depending on chimney size and accessibility."
      }
    },
    {
      "@type": "Question",
      "name": "What type of waterproofing sealant is best for Florida chimneys?",
      "acceptedAnswer": {
        "@type": "Answer",
        "text": "Penetrating silane/siloxane water repellents are recommended. These products soak into masonry while remaining vapor permeable, allowing trapped moisture to escape. Avoid paint or film-forming sealers."
      }
    },
    {
      "@type": "Question",
      "name": "How often should I waterproof my chimney in Florida?",
      "acceptedAnswer": {
        "@type": "Answer",
        "text": "Professional waterproofing typically lasts 5-10 years. In Florida's harsh climate, coastal chimneys may need reapplication every 5-7 years, while inland chimneys can often go 7-10 years between applications."
      }
    },
    {
      "@type": "Question",
      "name": "Can I waterproof my chimney myself?",
      "acceptedAnswer": {
        "@type": "Answer",
        "text": "DIY is possible but presents challenges including roof safety, proper product selection, and correct application technique. Professional application ensures coverage and may include warranty protection."
      }
    },
    {
      "@type": "Question",
      "name": "Will waterproofing fix an existing chimney leak?",
      "acceptedAnswer": {
        "@type": "Answer",
        "text": "No. Waterproofing prevents future water absorption but won't fix active leaks from damaged crowns, failed flashing, or cracked mortar. All repairs must be completed before waterproofing."
      }
    },
    {
      "@type": "Question",
      "name": "Should I waterproof before or after chimney repairs?",
      "acceptedAnswer": {
        "@type": "Answer",
        "text": "Always complete repairs first. Waterproofing is applied after all crown repairs, repointing, flashing fixes, and cap installation are complete."
      }
    },
    {
      "@type": "Question",
      "name": "Does waterproofing protect against hurricane damage?",
      "acceptedAnswer": {
        "@type": "Answer",
        "text": "Waterproofing reduces water penetration into masonry but won't prevent structural damage from high winds. Pre-hurricane inspection and repairs are essential for storm protection."
      }
    },
    {
      "@type": "Question",
      "name": "What's the difference between waterproofing and sealing a chimney?",
      "acceptedAnswer": {
        "@type": "Answer",
        "text": "These terms are often used interchangeably. Both typically refer to applying a water-repellent treatment to exterior masonry to prevent water absorption."
      }
    }
  ]
}